Accordions & Forms
Accordions and Forms are known as attached content in Cascade CMS. Attached content can be connected to one or multiple pages at a time, within the content region or row of that page. They include:
- Accordions - Used to display content within collapsible areas.
- Tabs - Used to display content within tabbed content area.
- URPoster Form - Used to build basic forms that submit to our in-house forms processor.
Once attached to a page, Cascade CMS identifies attached content in the Relationships menu for both the attached content and the page where it resides. You can quickly publish attached content to all of its related pages using the Relationships menu.
We offer guidance below for creating, connecting, and editing attached content that apply to Accordions, Tabs, and URPoster Form. For more specific guidance, refer to their individual pages. And be sure to review our guidance around a common Publishing Error Message.


Creating Attached Content
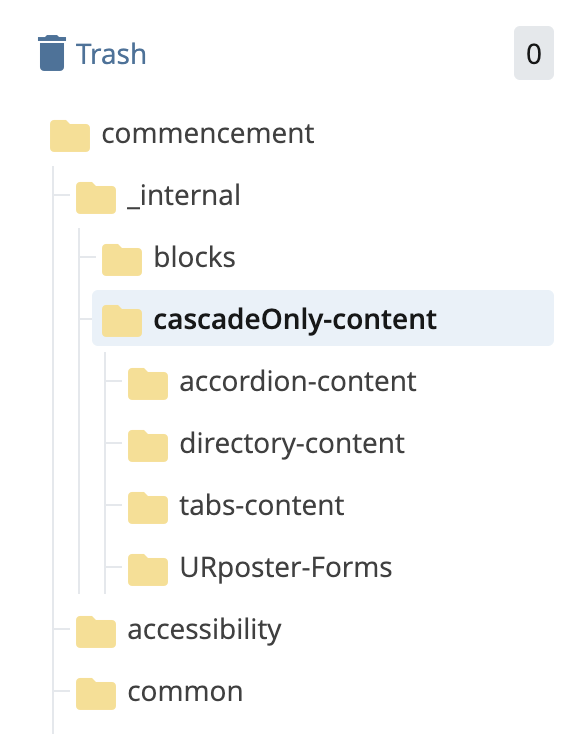
- Navigate in your site's asset tree to where your attached content lives. Typically this is under, _internal > cascadeOnly-content. Then, select the appropriate folder for accordion-content, tabs-content, or URPoster-form. Inside each of those folders, you also have an xhtml-pages folder. You can add your attached content either to that folder or its parent folder.
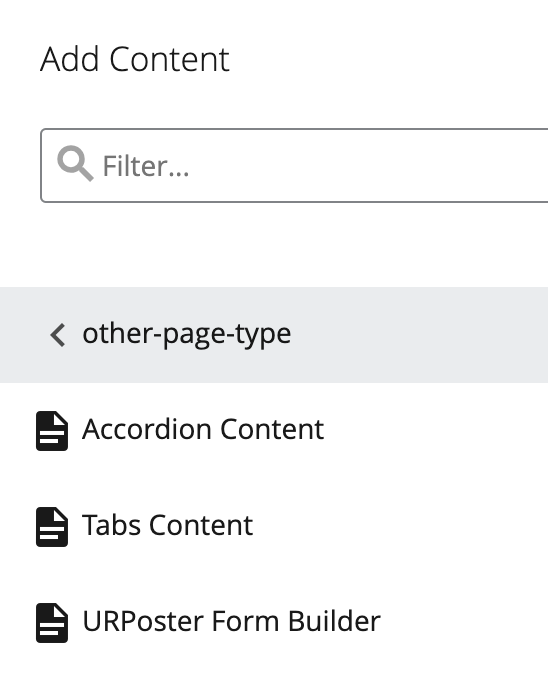
- Once you have opened the folder where you would like to create this content, select the Add Content button next to the site selector at the top of your screen.
- Select the other-page-type option.
- Select the page type you want to create (Accordion Content, Tabs Content, or URPoster Form).
- Enter a page name for your attached content, and then begin editing.
Connecting to a Page
- Open the Main Content section of the page.
- Within the Content Region, select the Attached Content option from the Content Type drop down selection.
- Open the Attached Content section.
- Select the attachment type for the page you are attaching (Collapsed Content - Accordion, Collapsed Content - Tabs or URPoster Page) from the Attachment Type drop down selection.
- Select Choose Page in the Page Attachment box and choose your attachable page.
- Select Submit from the Edit screen.
- Then Publish the page.
Editing Existing Attached Content
Attached content is edited separately from the page where it lives. However, you can jump to attached content quickly from the page where it is connected.
- Open the page where the attached content is linked and select Edit.
- Scroll down and select Main Content.
- Find the content region where the attached content is connected. If you are unsure of where it is exactly, look for "Attached Content" selected as a Content Type.
- Open the Attached Content menu.
- Right click on the file underneath Page Attachment.
- From the menu that appears, select Edit.
Once you have located your Attached Content and selected Edit, a new screen will open where you can make your edits. After you have completed your edits, select Submit, but do not select Publish.
Then, return to the page where this attached content appears, and Publish the page.
