Stories

Stories are created and stored in Cascade under _stories / hermes / site-name and are further organized by story type, and usually by year and then month. Navigate to the appropriate subfolder and click Add Content. Then, select Create a Story Page from the selection menu.
There are many options within this Edit screen, some of which are pertinent only to University Communications. However, some offices/departments publish their own feature stories, for publication on their websites. Like all feedable content these stories can be shared across multiple richmond.edu websites.
The following fields on the Edit screen are important to review when publishing a feature story to a website:
-
Page Name: This is not the story headline. This is the file name of the story within Cascade. Page Names must be lowercase with spaces replaced by hyphens.
-
Placement Folder: If you have already created your story within a specific folder, this field will be automatically selected.
-
Page Status: Select Active when you are ready to publish your story. If it is still being drafted or if it needs to be removed, selected Inactive. Please note that feedable content cannot be deleted from Cascade.
-
Story Type: This should remain set to Features.
-
Display Date: Select the date and time for your story. This is the date that will appear under the story headline.
-
Title: Insert the story headline here.
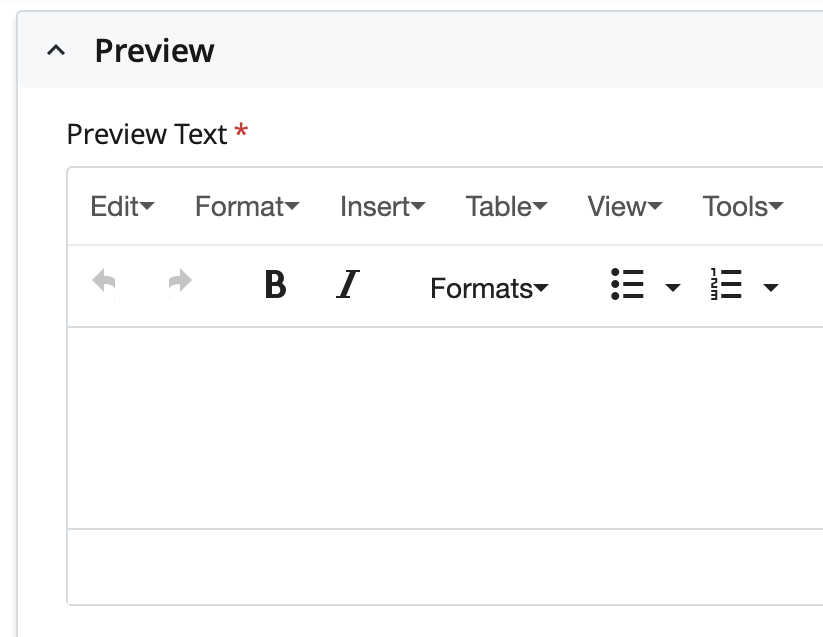
Preview
The preview section controls the image and text for a story when it appears in a feedable row. Stories require both Preview Text and Preview Images. The Preview Text may be a line directly lifted from your story, or new verbiage explaining your story succinctly, typically in 1 or 2 sentences. To edit the Preview:
-
Scroll down and click to expand the Preview section.
-
Insert your Preview Text.
-
Click to expand the Preview Image section. Connect Hero, Promo and Thumbnail images to the appropriate field using image files already stored in _cdncontent. If you have not already uploaded images to _cdncontent, follow our Lead Media image guidance.
Lead Media
The Lead Media section controls the image that appears at the top of the story page itself. To edit:
-
Expand the Lead Media section.
-
Connect the hero, promo, and thumbnail images to the appropriate fields. If you have not already uploaded images to _cdncontent, follow our Lead Media image guidance.
-
To use the optional image caption feature, add copy to the Caption region.
Main Content Row
This section is where you will add your story. Editing a Main Content Row works much like a editing a webpage. Images can be floated and various content types can be utilized. Follow our Editing Pages guidance for more information on editing these content types.
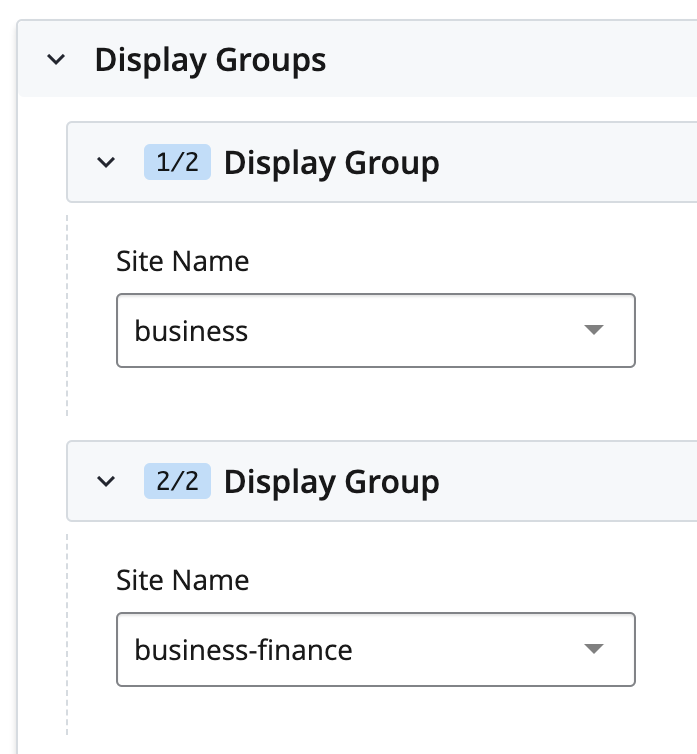
Display Groups
Display Groups have been created for different websites and topics so that a story can be displayed in multiple places. To add display groups to your story:
-
Scroll down to Display Groups and click to expand this section.
-
Click to open the first display group and select a Site Name from the dropdown menu. Typically, this is your site name.
-
Add additional Display Groups by selecting the green plus sign.
To publish a story, simply submit and publish your story.
To delete, move, or rename a story, review our Feedable Content guidelines.